Testing Locally
Overview
MiniApp Tunnel Client is a command-line tool that creates tunnels to expose your local development servers (running on localhost) to the internet. It's perfect for testing MiniApp locally.
Installation
Via npm (global)
npm install -g @qi-mobile/miniapp-tunnel-client
Via pnpm (global)
pnpm install -g @qi-mobile/miniapp-tunnel-client
Via bun (global)
bun install -g @qi-mobile/miniapp-tunnel-client
You can now use the miniapp-tunnel command to create tunnels to your local development servers.
Usage
Login
Authenticate with Miniapp Tunnel Server.
miniapp-tunnel login
You'll be prompted to enter:
- Password (hidden input)
Tunnel <port> [options]
Create a tunnel to expose a local development server.
miniapp-tunnel tunnel <port>
Arguments:
<port>- The local port number to tunnel (required)
Options:
--sub <subdomain>- Request a custom subdomain (e.g.,myapp)
Examples:
# Tunnel port 3000 with a random subdomain
miniapp-tunnel tunnel 3000
After running the command, you will be able to access your local development server at https://<subdomain>.miniapp-proxy.cc'
# Tunnel port 8080 with a custom subdomain
miniapp-tunnel tunnel 8080 --sub myapp
After running the command, you will be able to access your local development server at https://myapp.miniapp-proxy.cc
List all tunnels
List all tunnels.
miniapp-tunnel list
Delete a tunnel
Delete a tunnel.
miniapp-tunnel delete <subdomain>
Restart a tunnel
Restart a tunnel.
miniapp-tunnel restart <subdomain>
Whoami
Show the current user.
miniapp-tunnel whoami
Logout
Logout from Miniapp Tunnel Server.
miniapp-tunnel logout
Version
Show the current version.
miniapp-tunnel version
Help
Show the help message.
miniapp-tunnel help
Troubleshooting
"Not logged in" error
Make sure you've run miniapp-tunnel login before creating a tunnel:
Important Notes
- Make sure to run the development server with a
--hostflag to make it accessible from the internet. - Stale tunnels are automatically closed after a set period of time of inactivity, feel free to restart it if you need to.
Examples
Install the client
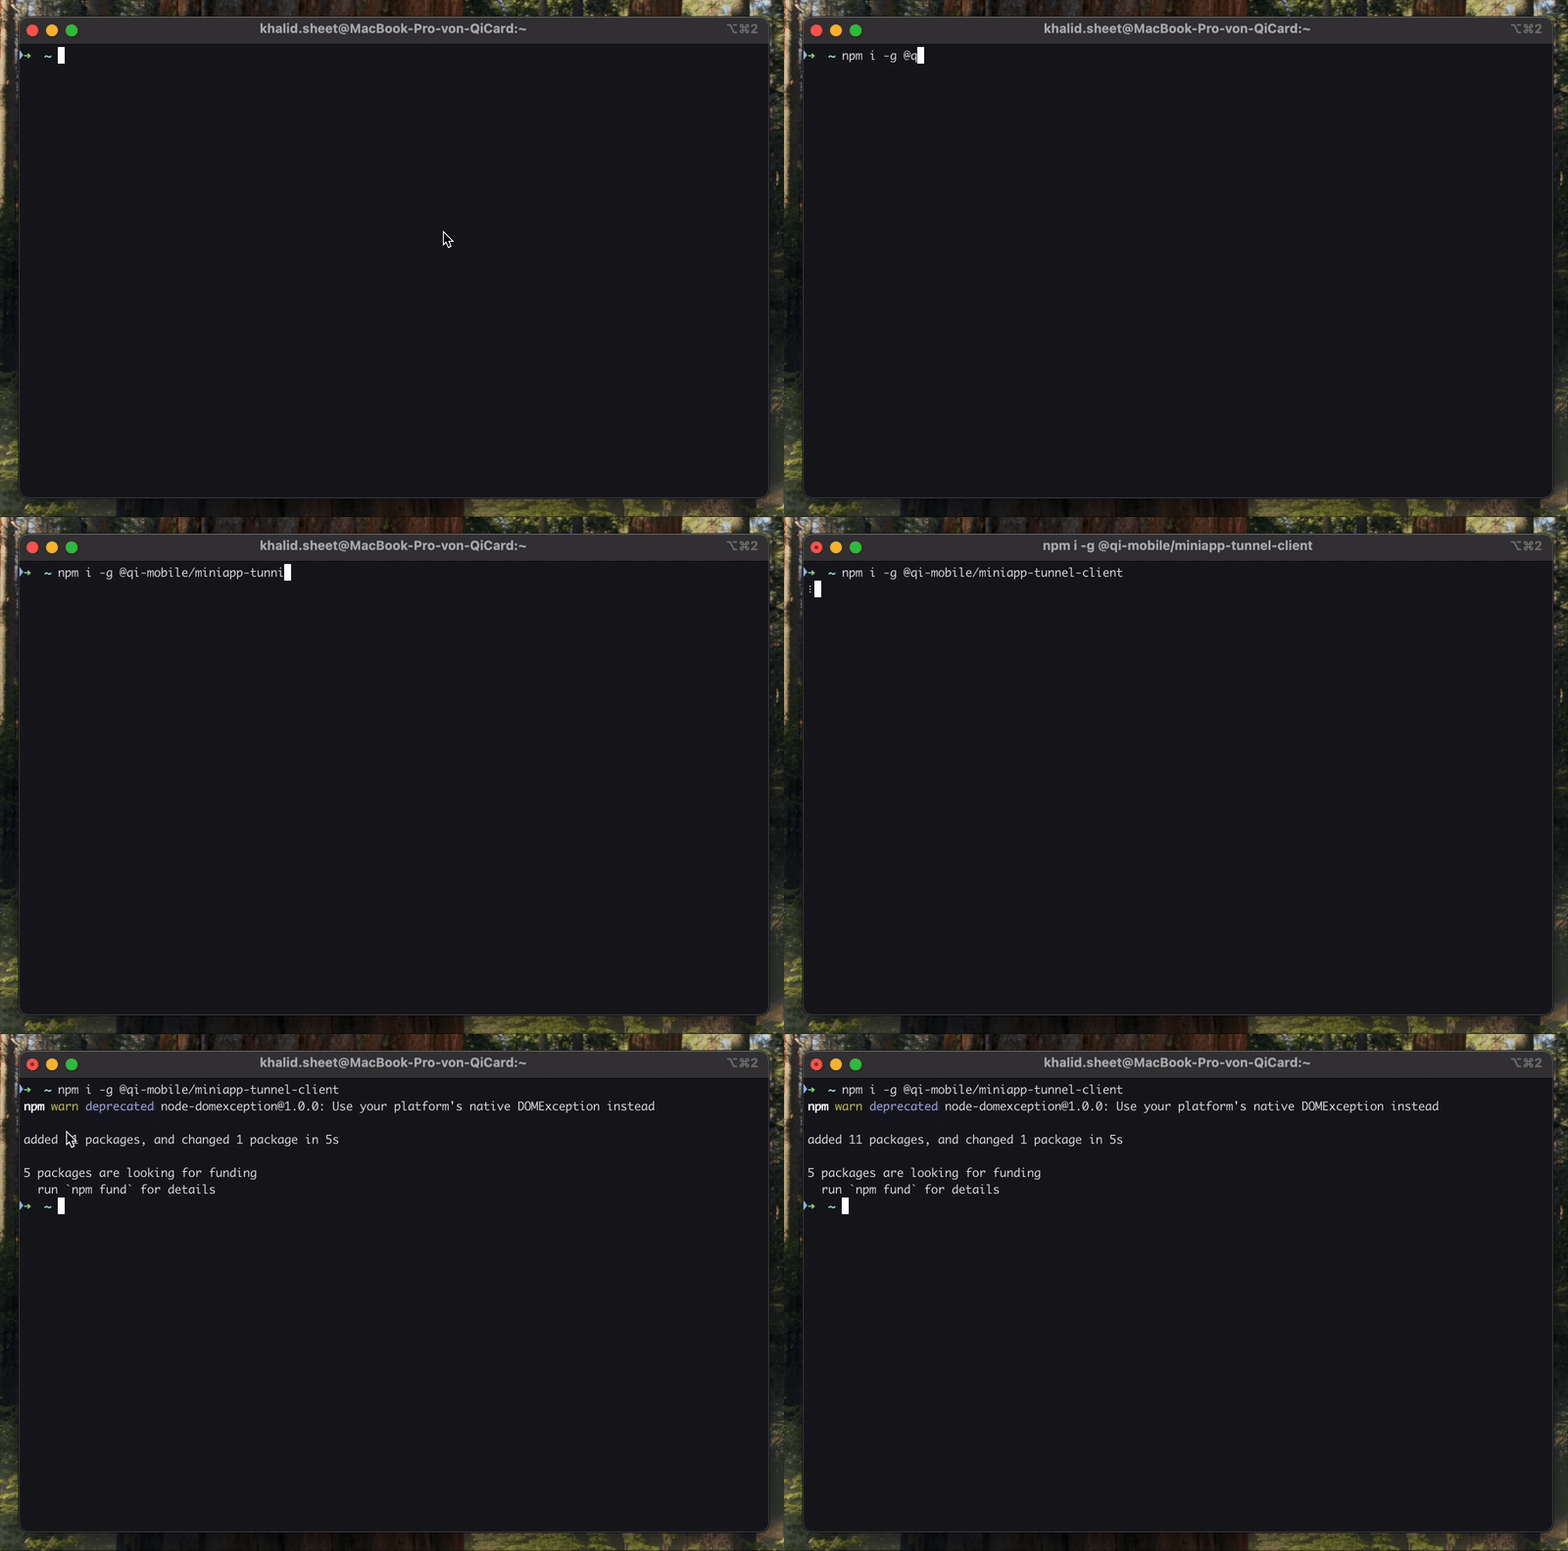
First we need to install the client, we can do this by running the following command in the terminal,
make sure to install it globally using the -g flag.
npm install -g @qi-mobile/miniapp-tunnel-client

Verify the installation
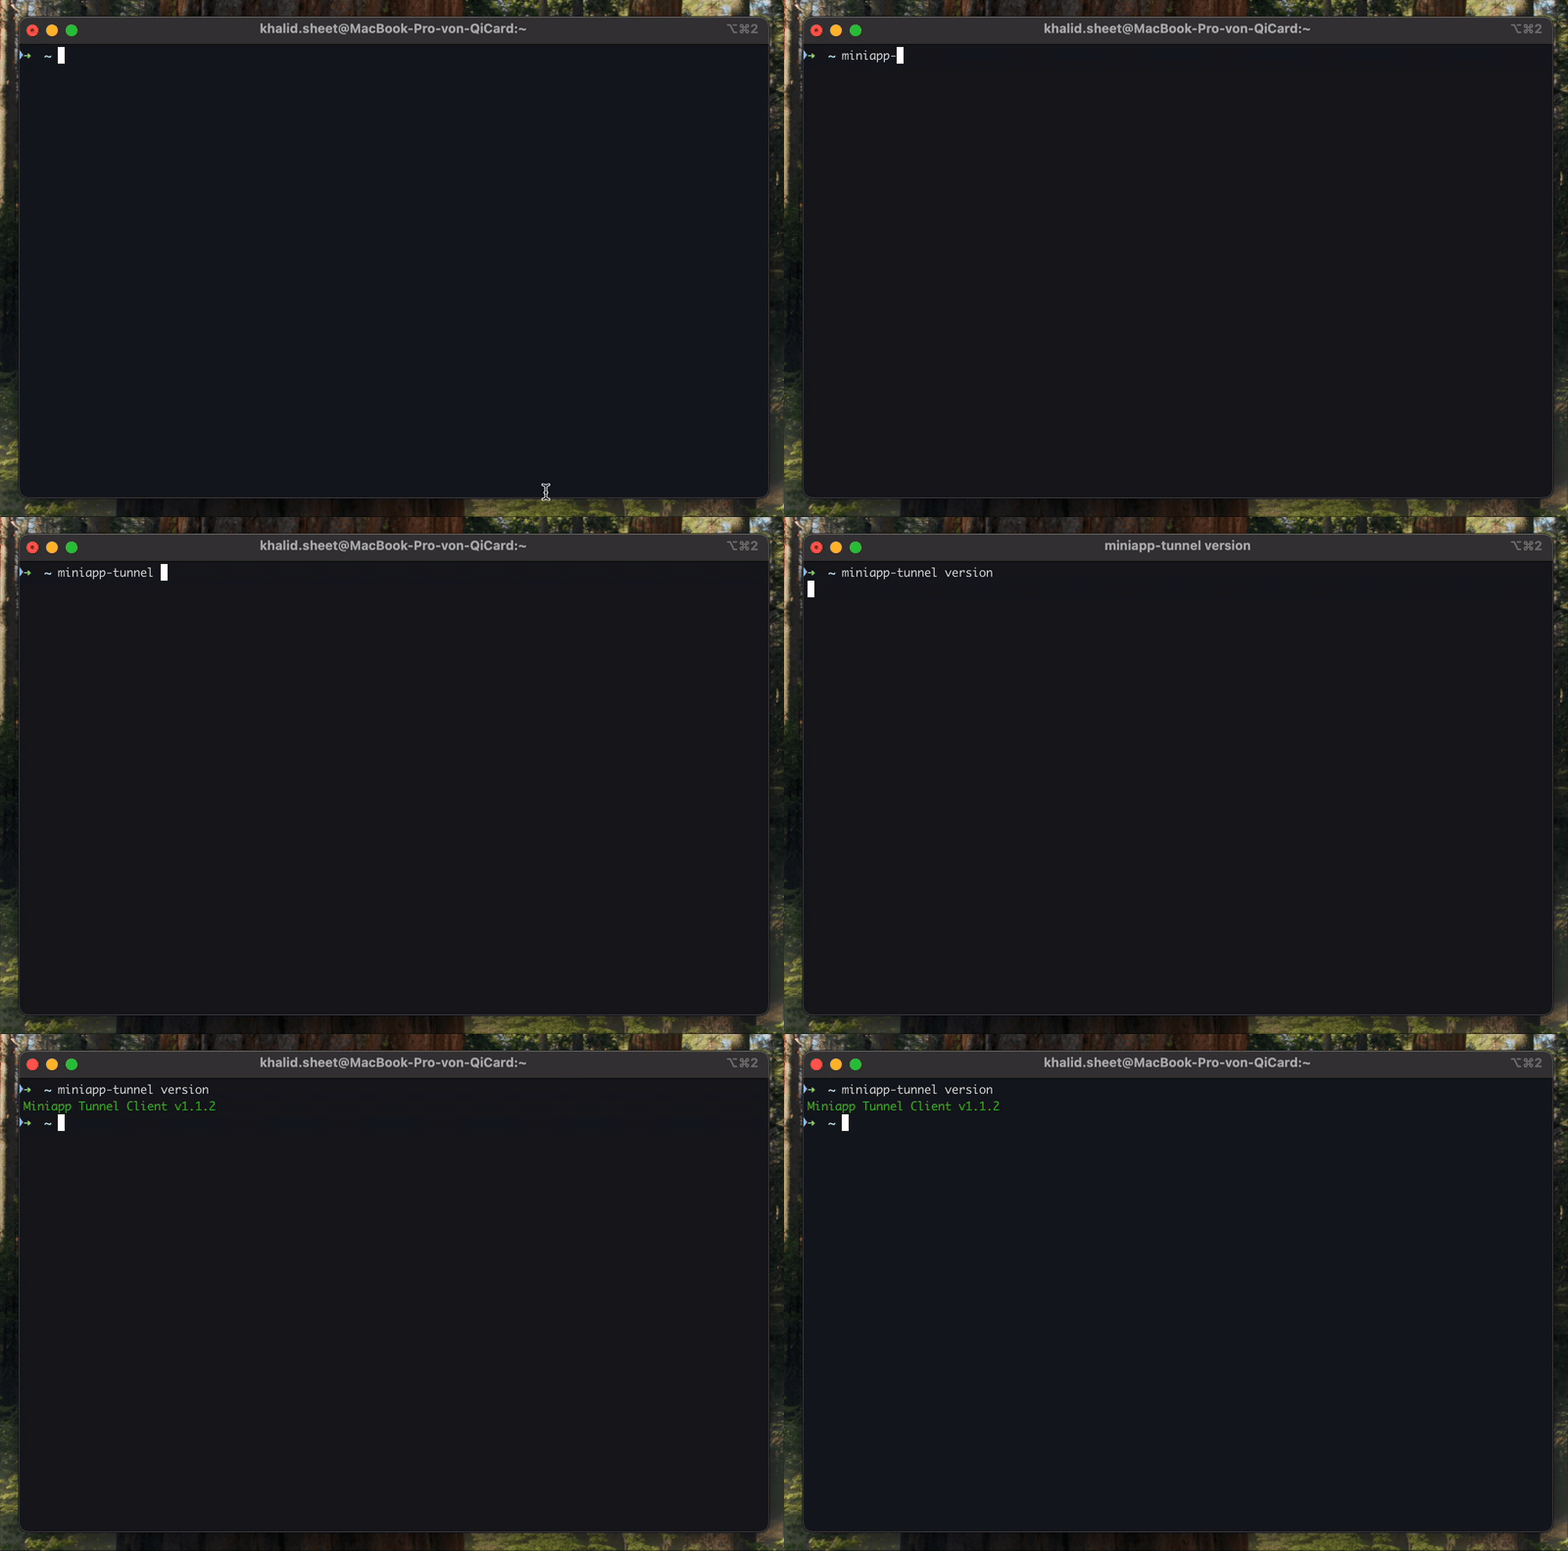
To verify the installation, we can run the following command in the terminal.
miniapp-tunnel --version
it should output the version of the client. (eg. 1.x.x)

Login
Now we need to login to the Miniapp Tunnel Server, we can do this by running the following command in the terminal.
miniapp-tunnel login

Create a tunnel
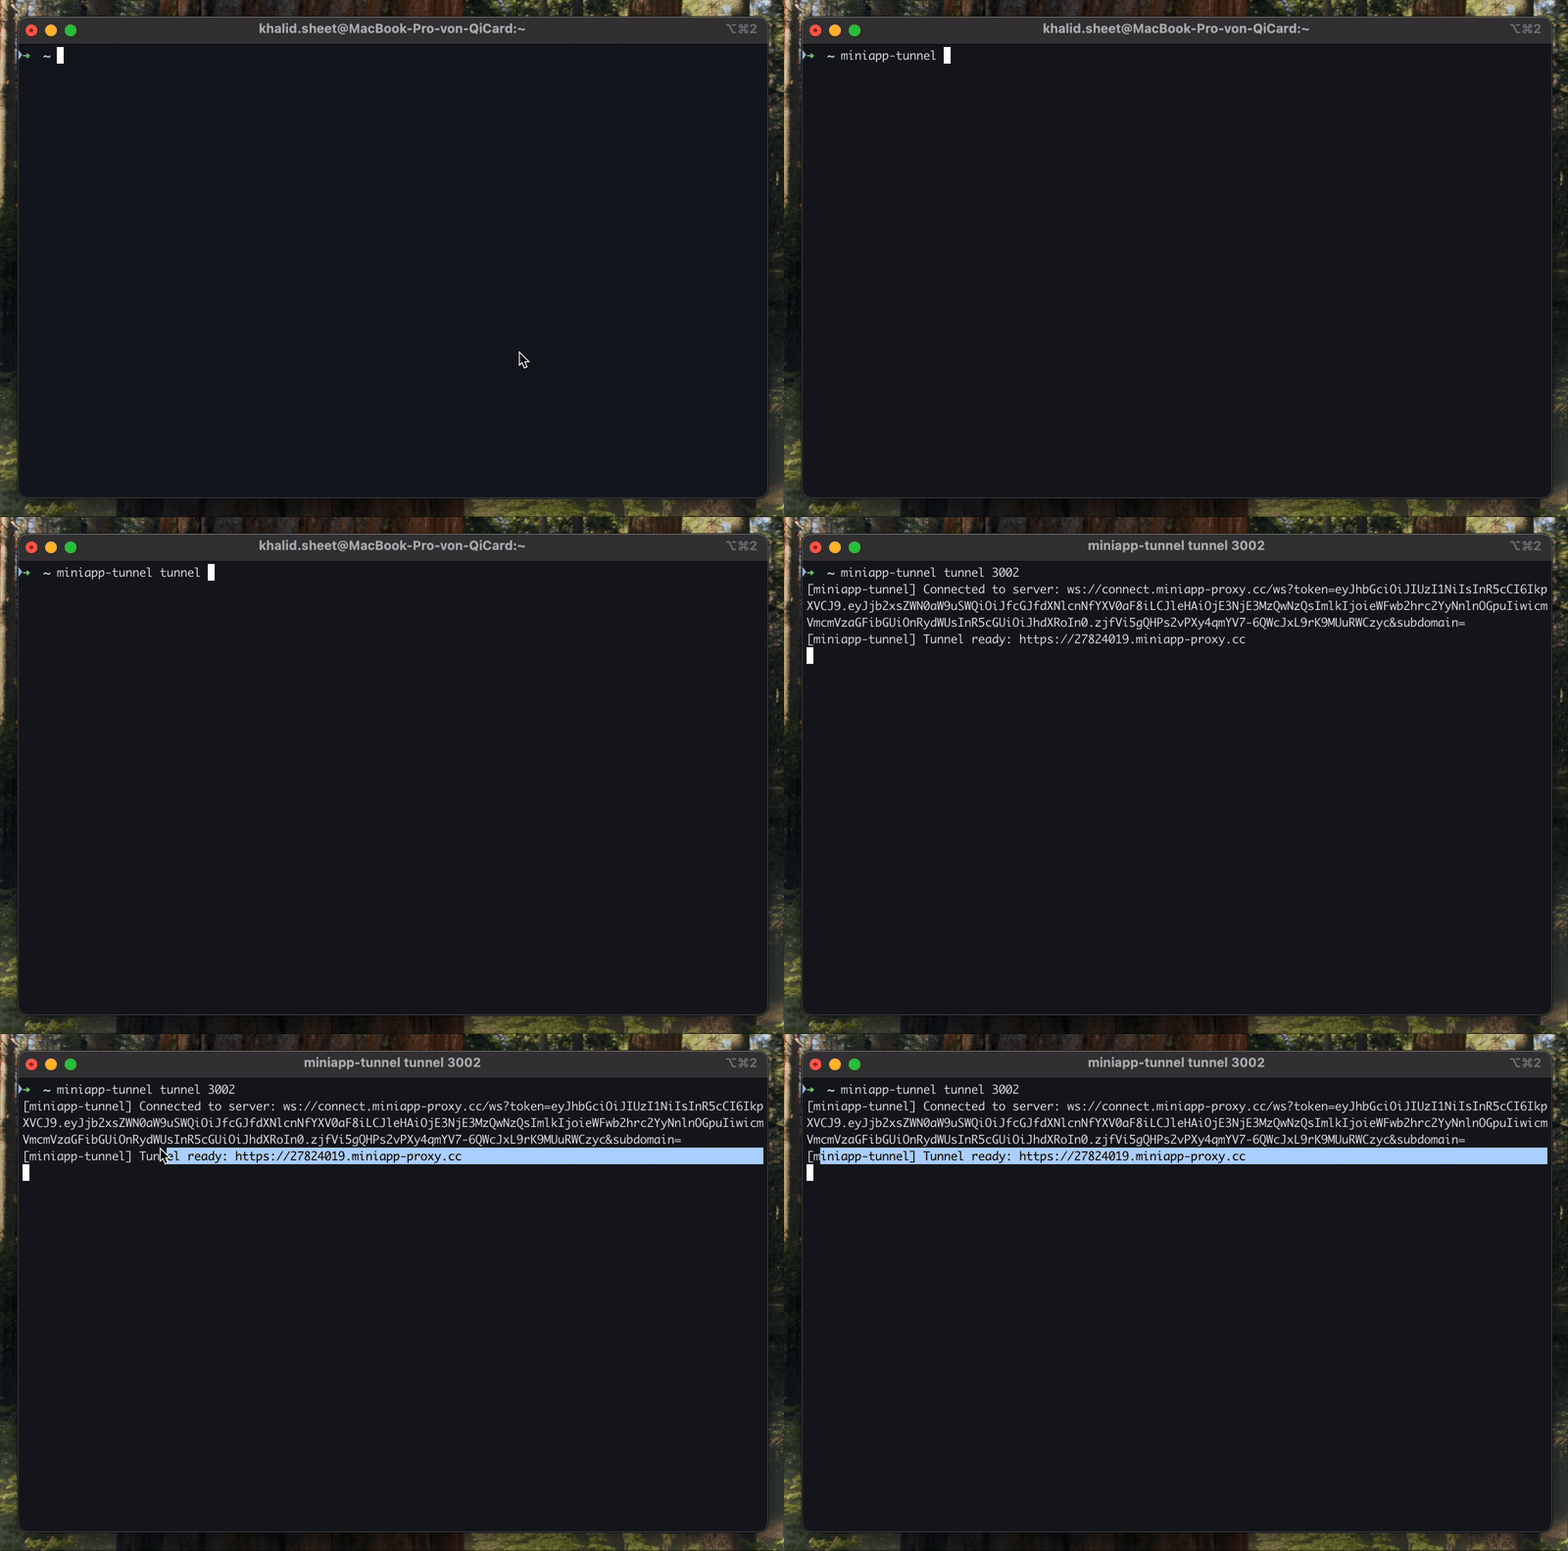
After logging in, we can create a tunnel to expose our local development server to the outer world. We can do this by running the following command in the terminal.
miniapp-tunnel tunnel <port> [options]
The cli arguments are split in two parts, the first part is the port of the local development server we want to expose and the second part are the options.

If you don't specify a subdomain, we will get a random subdomain for you.
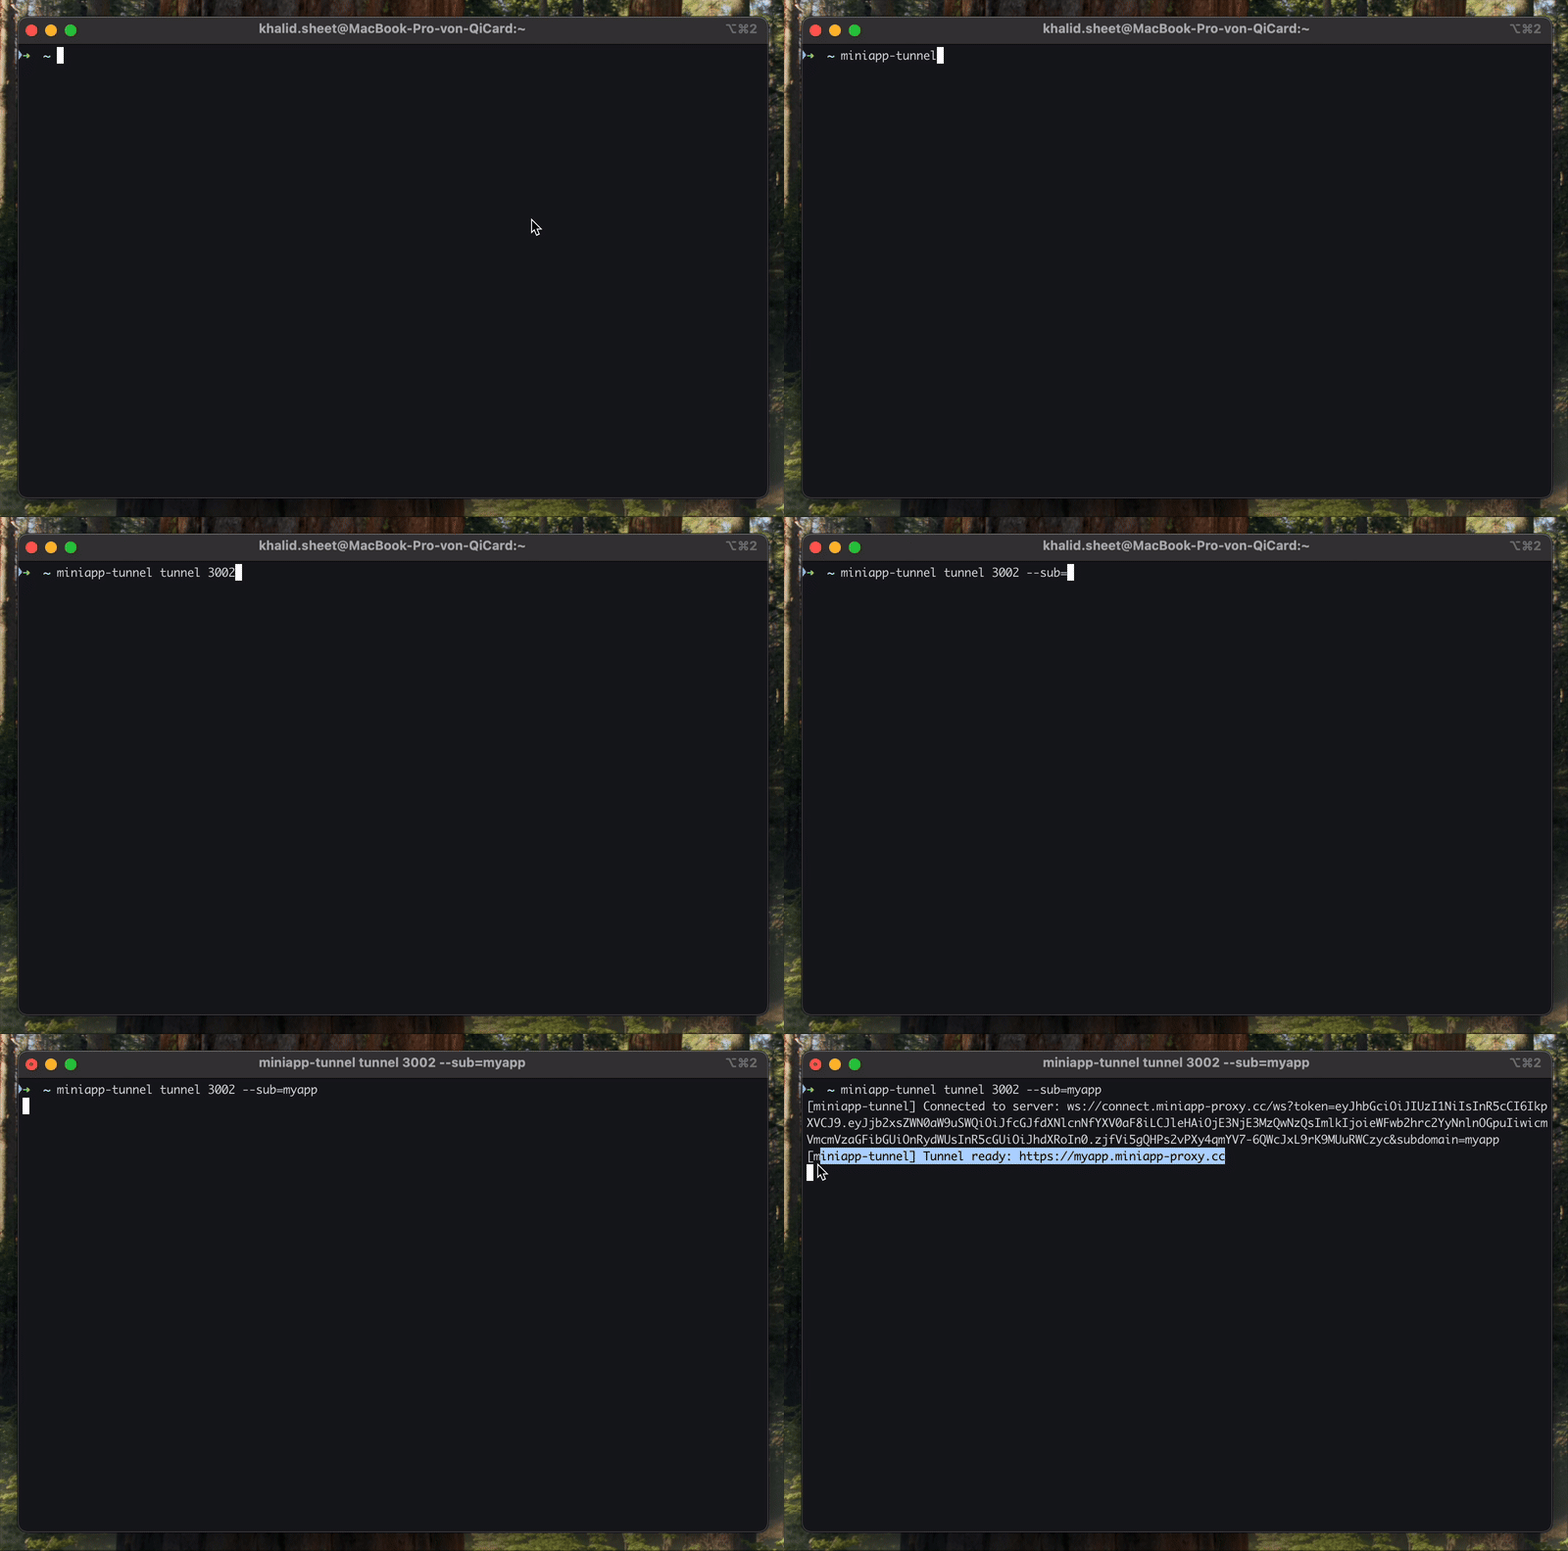
We can also specify a custom subdomain by using the --sub option.
miniapp-tunnel tunnel <port> --sub <subdomain>
